RmlUi
RmlUi is a third-party GUI library that uses an HTML-like syntax to describe UI elements, and CSS to style them. RmlUi is lightweight, yet flexible.
Support for RmlUi is provided through a dedicated engine plugin. To enable it in your project, activate the plugin in the project settings.
Rml Documentation
The documentation for RmlUi can be found here.
Please refer to that documenation for any questions around how to use RmlUi.
Sample
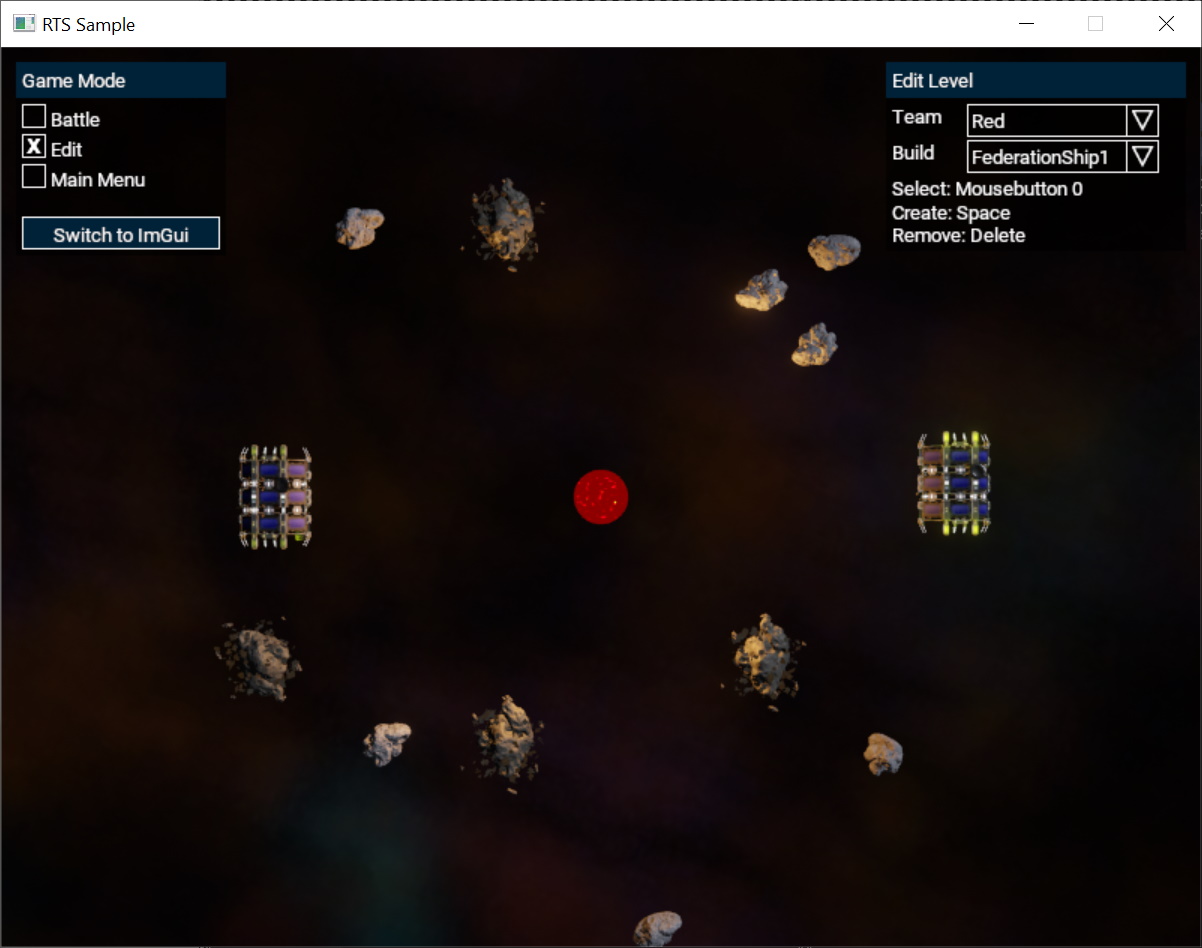
The RTS Sample shows how to use RmlUi. Have a look at it the project in the editor, it contains Rml assets. The editor shows a live preview for Rml canvases, and you can edit the respective .rml files to see the effect:
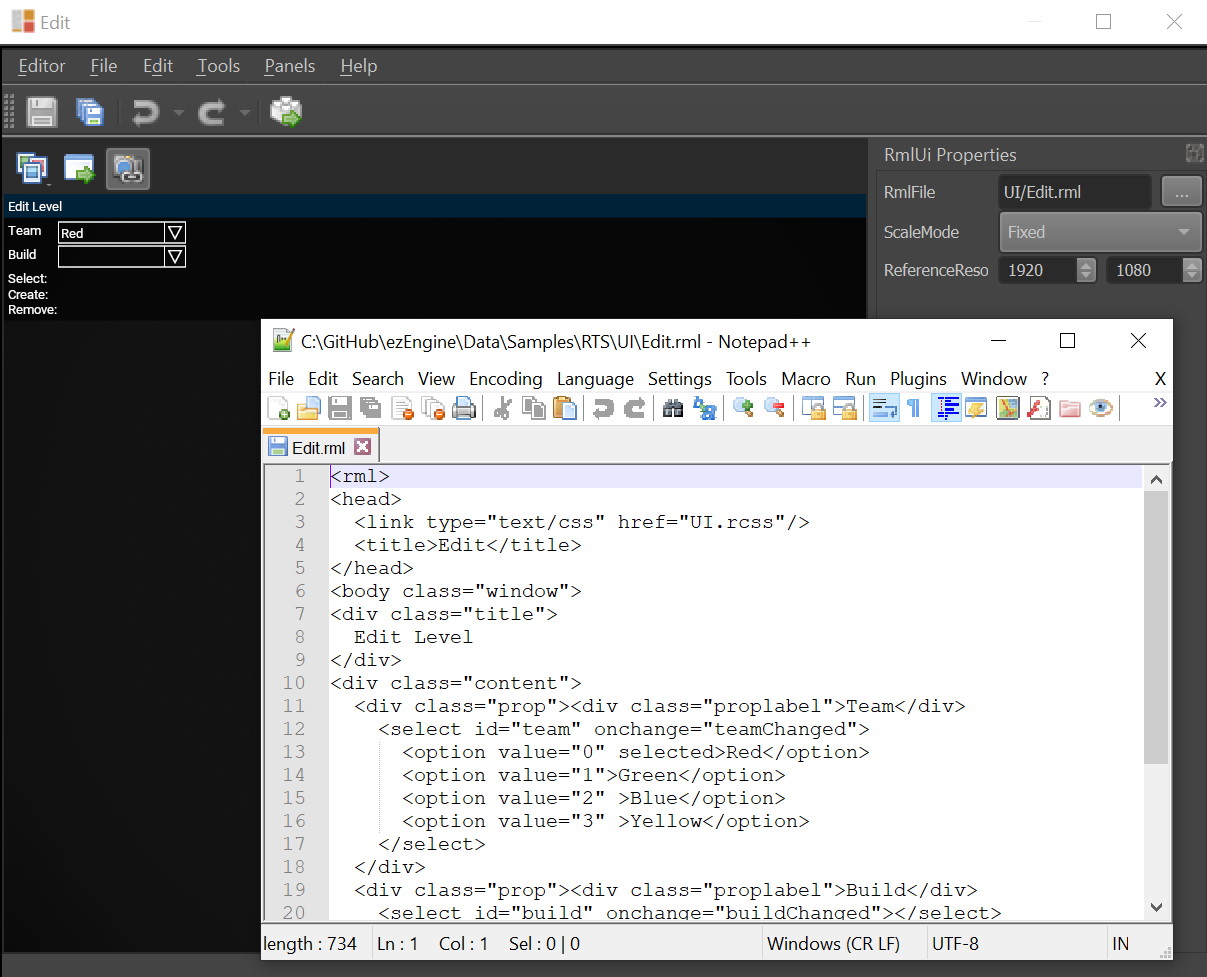
The sample uses multiple RmlUi Canvas 2D components in its scene to place the UI elements. At runtime the RTS sample's game code accesses the RmlUi functionality through the ezRmlUiCanvas2DComponent. Search the sample's code for those places to see how to interact with the GUI.
Using ezRmlUiCanvas2DComponent::GetRmlContext() you get access to the ezRmlUiContext. This class implements Rml::Core::Context. This gives you access to all the RmlUi features. See the RmlUi documentation for details.
Canvas Components
ezEngine provides two canvas components for placing RmlUi documents in a scene:
- The RmlUI Canvas 2D Component (
ezRmlUiCanvas2DComponent) renders the UI as a screen-space overlay. This is the standard choice for HUDs and menus. - The RmlUI Canvas 3D Component (
ezRmlUiCanvas3DComponent) renders the UI into a texture applied to a mesh in the scene, allowing UI panels to exist as physical objects in the 3D world.
Both components support blackboard data binding, event messages, and on-demand rendering. See the individual component pages for their full property reference.
Blackboard Data Binding
A blackboard can be bound to an RmlUi context as a data model. The canvas components do this automatically with Autobind Blackboards, or from C++ through ezRmlUiCanvasComponentBase::AddBlackboardBinding(). The blackboard's name is used as the model name, and every entry becomes a data variable with the entry's name.
Entries of these types are bound:
- Scalars:
bool, integer and floating point types,ezStringandezHashedString. ezVariantArray: Accessed as an RmlUi array, for instance withdata-fororlist[2].list.sizereturns the number of elements.ezVariantDictionary: Accessed as an RmlUi struct, using the dictionary keys as member names, for instanceplayer.health.
Arrays and dictionaries can be nested in each other in any combination, for example {{ inventory[0].name }} for an array of dictionaries. Entries of other types are ignored.
<body data-model="HUD">
  <p>{{ player.name }}: {{ player.health }}</p>
  <div data-for="item : inventory">{{ item.name }} x{{ item.count }}</div>
</body>
Limitations:
- Only top level scalar entries can be written from the UI, for instance through
data-value. Arrays, dictionaries and all values nested inside of them are read-only. Change them through the blackboard instead. data-forcan iterate over arrays, but not over the members of a dictionary. Dictionary members have to be accessed by name.- Only entries that exist when the binding is set up are bound. Entries that are added later are not picked up.
- An entry must not change between scalar, array and dictionary after setup. Changing the value is fine, for example replacing an array with one that has a different number of elements.
Main Menu
The RmlUI Main Menu Component (ezRmlUiMainMenuComponent) provides a ready made main menu with a settings page. Add it to an object in a scene to get Resume, Settings and Exit on ESC, without writing any code. The component is part of the Game Components plugin. Its documents are in Data/Plugins/GameComponentsPlugin/rmlui-menu/ and can be replaced with your own.
Debugger
RmlUi comes with its own debugger, which shows the element hierarchy of a document, the applied styles, and a log. It can be attached to a context through the CVar RmlUi.DebugContext.
Set the CVar to the name of the context that should be debugged. The canvas components name their context after the Rml asset that they display, so entering the asset's file name is usually sufficient. The lookup is a case insensitive substring match, so a partial name works as well. Setting the CVar to an empty string closes the debugger again.
For example, to debug the UI of an Rml asset called MainMenu.ezRmlUiAsset, open the console while the game runs and type:
RmlUi.DebugContext = "MainMenu"
The same can be done through the CVars panel in ezEditor, or from the command line when starting the application:
MyGame.exe -RmlUi.DebugContext MainMenu
Only a single context can be debugged at a time. Attaching to another context detaches the previous one. If no context matches the given name at that moment, the debugger is closed, but it opens automatically once a matching context loads a document afterwards.
The debugger is only available in development builds and only on Windows, since it is loaded from RmlDebugger.dll at runtime. If that DLL can't be found, an error is logged and nothing else happens.
Localization
All text content in RmlUi documents is automatically passed through ezEngine's localization system (ezTranslate). That means you can set up translation tables for different languages.